I just came across these pictures and I think this hairstyle was done sometime in January. It's fairly straight forward but there are some helpful tips for you.

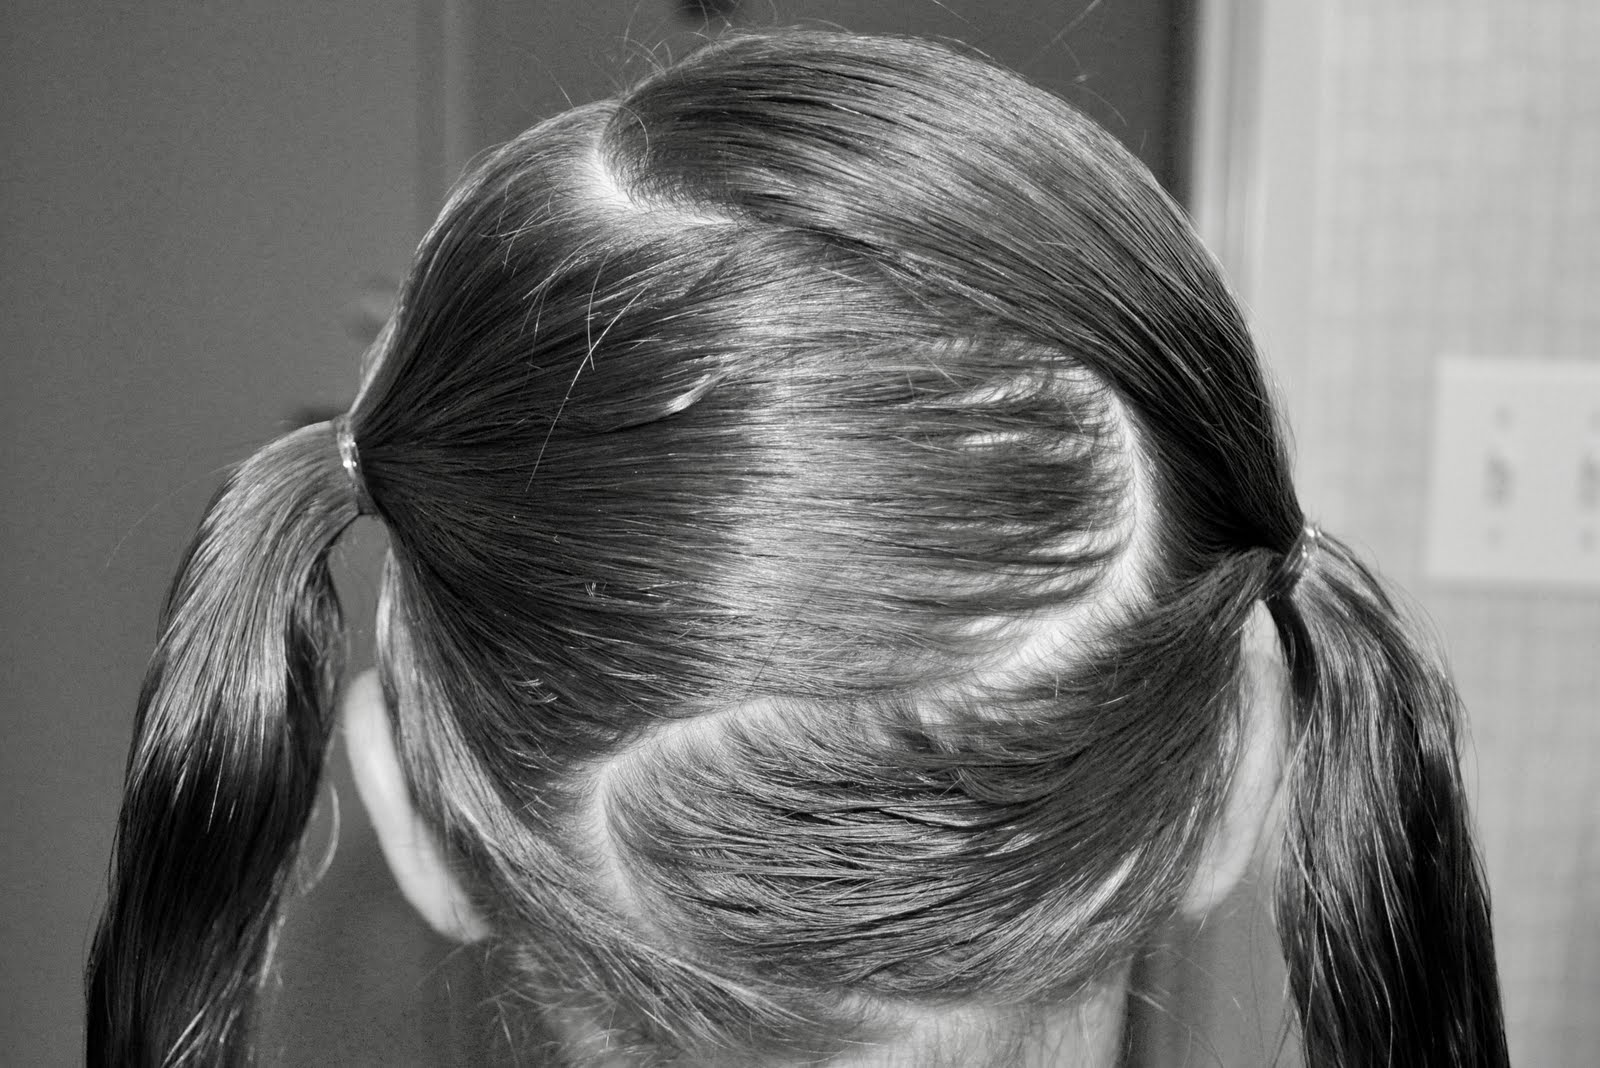
Start by parting the hair down the middle. (I've pulled some of her bangs into one side in the front as well.) Now that you have your vertical halves, divide each into half horizontally so that you now have 4 sections.

Tie off 3 of the section with elastic and begin to french braid the 4th section. Braid all the way to the end of the hair and tie it off with an elastic. French braid all the sections and tie them off. (Tip: for the bottom French Braids, have your princess lay on her tummy on her bed so that her head is upside down over the edge of the bed. This will make doing the upside down braids MUCH easier.)

(Okay - this part could've definitely been straighter! ha ha) Now that you have your 4 French Braids completed you'll want to combine the top and the bottom on each side by twisting the two braids around each other and forming a bun. Secure the bun with a tight elastic. Do the on the other side as well. Now just choose your favorite ribbons and wrap them around the bun, creating a bow, to finish off.


 Now Part that section into two pieces. (Part it a bit off-centered for a better look.) Not tie one half off with an elastic to make working with the other side easier.
  On the larger half you should end up with 4 sections and the smaller half should have 3 sections. Tie each section off with an elastic (close to the front of the head) and make sure that you add the previous hair into the new elastic-section.
  Hopefully that makes sense and if it doesn't than hopefully the picture will help.
  When you get your last elastic in on each side, pull the two ponytails together around the back of the head and secure it.
  You can let the rest of the hair fall however you like. My princess has naturally wavy hair so we've straightened it with a flat iron here. Tie a ribbon around the back elastic and you're finished!
 Grab a small section of hair from one side of the head, just above the eyebrow line. (Make sure you don't grab your section from the front of the hair because you don't want to show. Gather it from about and inch behind the hairline.) You'll want to braid that small section as far down as you can.
  We chose to do a 5-Strand Braid because it is a little wider than your normal braid.
  Once you've finished braiding, pull it across the forehead and tuck it under the hair on the opposite side of the head.
  Attach the braid to the hair with bobby pins - making sure to make and "X" with the bobby pins for the best hold.
  Now separate the rest of the hair into two halves and pull them down into Indian Braids. Secure the ends with elastics and add hair accessories as you like. I've just glued some little white ribbon flowers to hair pins and tucked them into the braids. I thought it gave it more of a "Flower Power" look. :)